Materials List:
- Distress Ink Background (see my last blog post for details on creating these)
- Spellbinders Build a Spring Birdhouse die set
- Spellbinders Birds on a Branch die set
- Spellbinders Mini Everyday Sentiments stamp set
- Spellbinders Sentiment Labels die set
- Spellbinders Glimmer Foil in Moondust
- Distress Spray Stain – Black Soot
- Distress Oxide – Faded Jeans, Mowed Lawn
- Black liner pen for bird detail (3 mm chisel tip, use the point)
- Patterned paper for the birdhouse
- Hero Arts Premium Cardstock – Mustard, Chestnut
- Scrap of white cardstock for die cutting flowers
- Pops of Color! Pearl Satin, Black
- Copic Markers – Assorted bright colors
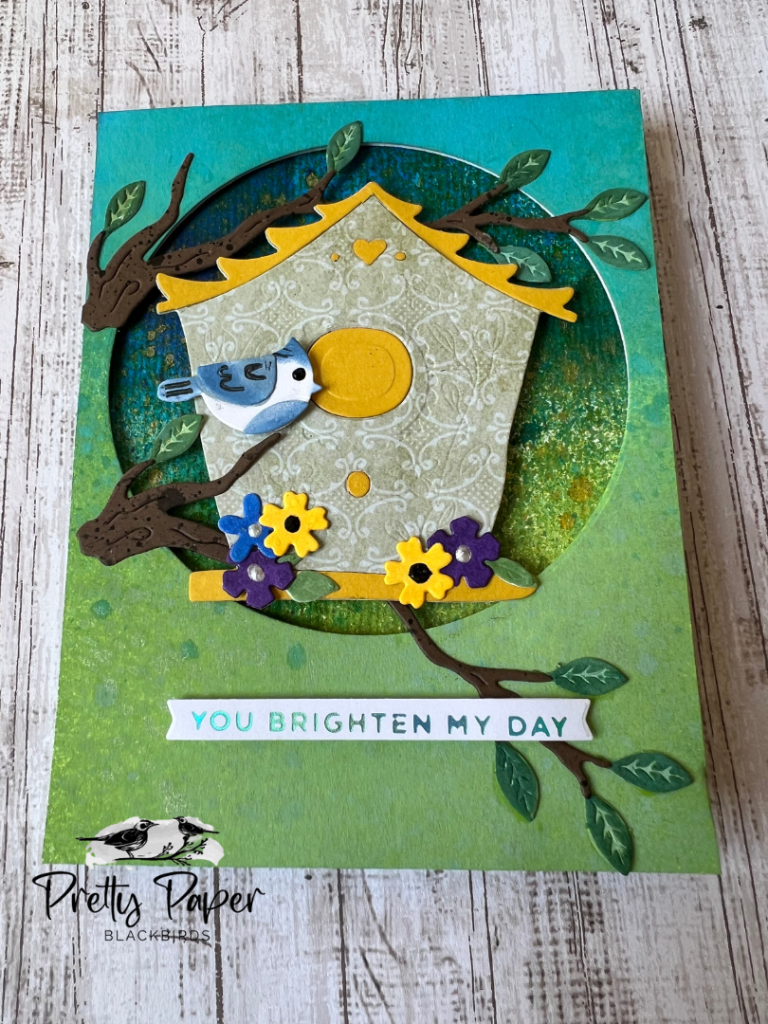
This is the card that started the whole inky background project I posted earlier today. I fell in love with these landscape panels and quickly found lots of uses in my cardmaking. But here is how I put this birdhouse card together.
From my growing stash of inky backgrounds I chose one that had a sky area, some green down below for a field or meadow, and some splashes of yellow for sunshine. You can trim this panel down if needed so that the perfect “scene” shows through the die cut circle that you will soon cut from a piece of heavy white cardstock. I took that A2 cardstock piece and taped a circle die that measures 3 3/4″ in diameter to the cardstock. This was centered horizontally but about 1/2″ from the top of the panel. See photo above for placement. I die cut the circle then pulled out some Distress Oxide ink pads and inked the panel. Starting at the bottom I applied Mowed Lawn from the bottom up, covering the bottom 2/3 of the panel. I then applied Salty Ocean to the top 1/3 of the panel. Next I lightly sprayed Wicked Elixir Distress Mica Stain to create some contrast on the lower part of the panel (over the Mowed Lawn.)
For the birdhouse I searched through my patterned paper stash for a fun wallpaper pattern. The Ideaology Wallflower Paper Stash had several great choices. I decided on this flourished green paper and used that to die cut the birdhouse from the die set. I then die cut a second birdhouse from the Mustard cardstock and trimmed off the roof and perch for my patterned paper birdhouse. I also used the small heart, the two dots on each side and the circle (above the perch) from the Mustard die cuts. I applied foam tape to the back of the birdhouse and then used the sticky part of the tape that was showing through the cutouts to adhere those pieces.
Next I die cut the branches from the Chestnut cardstock, and the flowers and leaves from white cardstock. For the branches I simply put them in my spray box and applied a light mist of Black Soot Distress Spray Stain. That gave enough contrast and depth to the pieces. I inked the flowers with several colors of bright Copic markers and applied Pops of Color in Satin or Black to the centers. I inked the leaves Distress Oxide Spray in Mowed Lawn, then went back over the leaves with Distress Ink in Mowed Lawn to create some contrast in the raised areas.
I chose the cute little bluejay die cut for my bird. I cut the bird from white cardstock, and using a google search I replicated the blue markings with a really small blending brush (Altenew #5) and a Faded Jeans Distress Oxide ink pad. I used a Kingart Inkline pen to create the black markings and a Pops of Color in black for the eye.
For the sentiment strip I used the Spellbinders Mini Everyday Sentiment foiling set to foil You Brighten My Day on white cardstock. I die cut the strip with the included sentiment strip die and the strip is popped up on the face of the card with foam tape.
To assemble the card I first attached the leaves to the branches and then attached the branches to the die cut front panel, since those appear behind the birdhouse. I then attached the bird to one of the branches and attached the flowers and leaves to the perch of the birdhouse using glue. I then attached foam tape strips to the back of this panel and adhered the panel to my inked background. I then removed the backing from the foam on the back of the birdhouse and positioned it in the center of the circle. I attached my sentiment and the card was complete.*
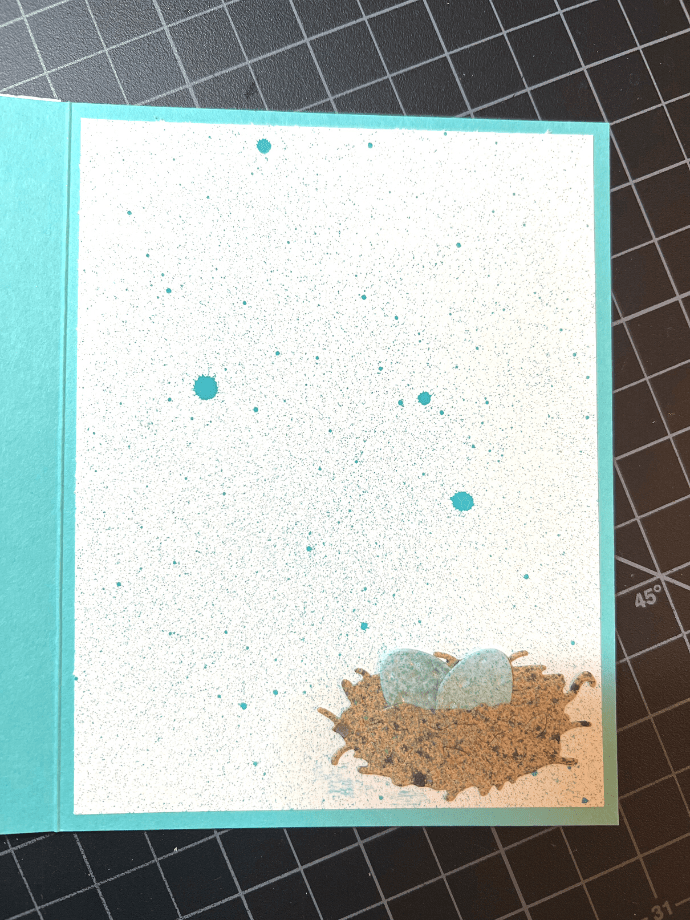
I wanted to create a cute panel for the inside of the card so I die cut the nest and eggs from the Build a Spring Birdhouse set. I inked the nest in Brushed Corduroy Oxide ink and then sprayed lightly with Black Soot Spray Stain. For the eggs, I inked in Speckled Egg and then added a tiny bit of Perfect Pearls in Perfect Gold for some shimmer. I attached these to a 4 x 5 1/4″ white panel and then lightly sprayed the panel with Peacock Feathers Distress Oxide Spray. It makes a super cute inside panel!
Let me know if you have created some backgrounds and how you are using them!
Cheers!
Cynthia
