
Materials List:
- Dress My Craft Scalloped and Stitched Hearts Dies
- Simon Says Stamp! Tossed Hearts Background Stamp
- Concord & 9th Quilted Card Front Die
- Simon Says Stamp! Big XOXO Die
- Hero Arts Heart Tree Stamp and Cut
- Hero Arts Love Stamp and Cut
- Altenew Sentiment Strips 2
- Altenew Sentiment Strips 3
- Hero Arts Hero Hues Premium Cardstock – Pitch Black & Cranberry
- Erin Lee Creative – Glossy Black Cardstock
- Confetti/Shaker Filler
Are you ready for some quick and fun Valentine’s cards? I’m taking a break from snowflakes and hot cocoa cards to focus on hearts and love. I have FIVE Valentine’s cards to show you and these were not only quick to assemble they feature awesome color combos. And I kept the color choices very simple…I used only two cardstock colors for each series and the cardstock can be substituted from many crafting suppliers! And starting with this post I am including screenshots from my videos for more detail. Of course, you can always pop over to YouTube to check out the videos in their entirety!
PINK SERIES (you can find the video here.)
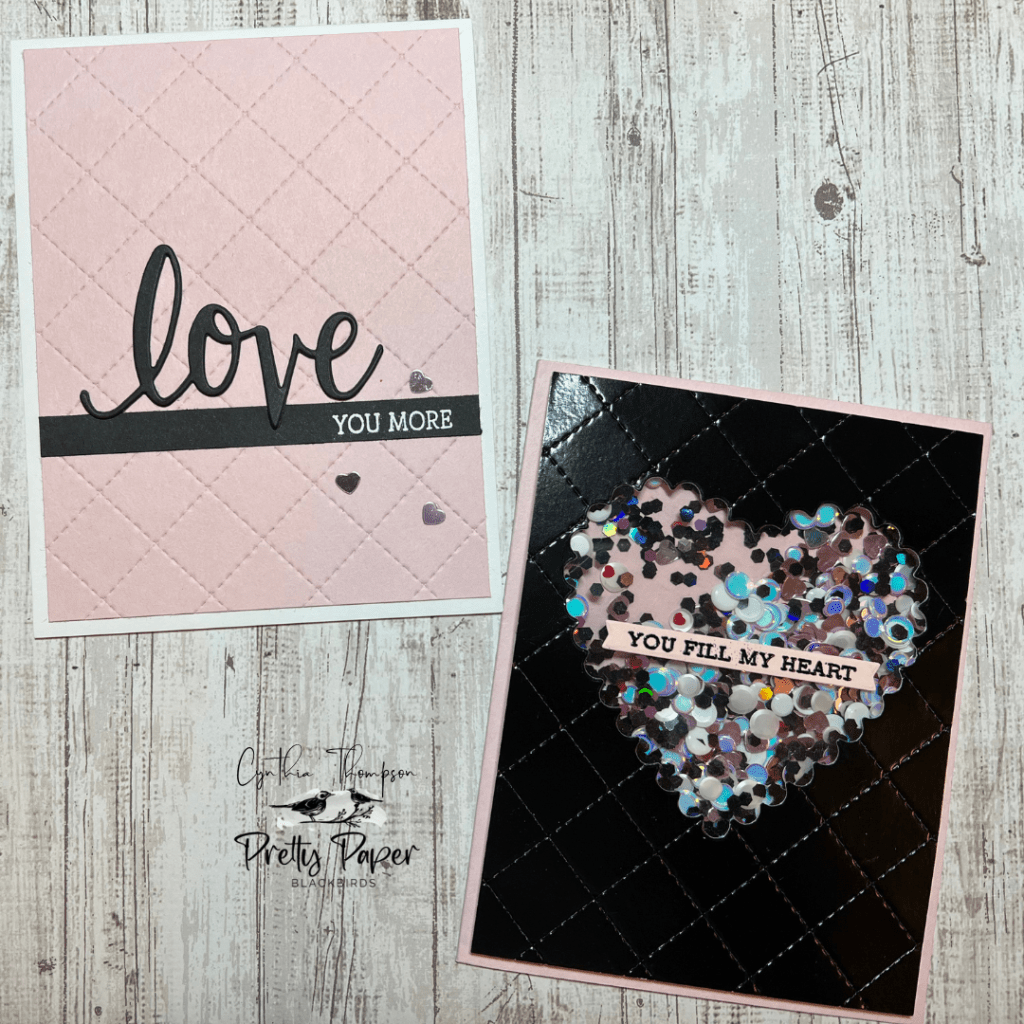
Heart Shaker Card
This card was the most time-intensive card but still only took about 20 minutes start-to-finish. I’m not kidding when I say these cards were quick!
I started by creating the die-cut front panel shaker window. I always die cut before I emboss in order to preserve the depth and detail of the embossing. So I ran a 4″ x 5 1/4″ shiny black cardstock panel and a heart die through my die cut machine to create the front window. I’ll save this die cut for an upcoming card in this series! Next I lined up this window panel on the quilted card front die and ran this back through my die cut machine to create the quilting on the panel. I always place the embossing die face up and the front of the card panel face down over the die.

Next I used SKOR tape to adhere an acetate piece on the back of the panel over the die cut opening. I can then build the walls for my shaker. I used 1/4″ foam tape, two layers for the walls. I always snip one edge of the tape to facilitate applying the tape around curved edges.

After applying two layers of tape I removed the tape and added my shaker elements. I like to create my own shaker mix. For this card I used some metallic pink hearts, tiny black hexagon sequins, pink hexagon sequins and holographic silver sequins. I love this mix against the black and pink foundation of the card.
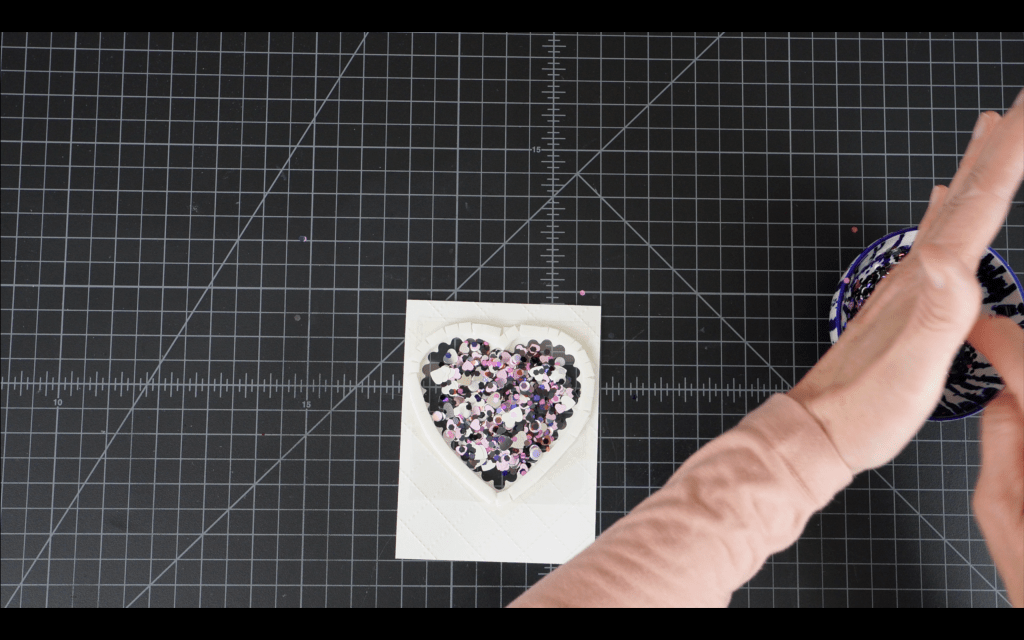
I like to apply an acetate backing to the shaker area, so I cut a small panel, removed the backing tape from the foam tape and adhered the panel. The shaker bits always want to jump up and stick to the acetate so be sure to apply some anti-static powder before you complete this step!
Next I trimmed the acetate backing and then applied the rest of the foam tape to the back of the panel, taking card to apply two layers to match the depth of the foam tape on the shaker walls.

Next I removed the tape backing and adhered this shaker panel to my A2 Peony card base. The final step was to create a sentiment strip for the card. I used the “You Fill My Heart” sentiment from the Altenew Sentiment Strips 3 stamp set. I heat embossed the sentiment on Peony cardstock with shiny black embossing powder, then die cut the strip with the included banner die.
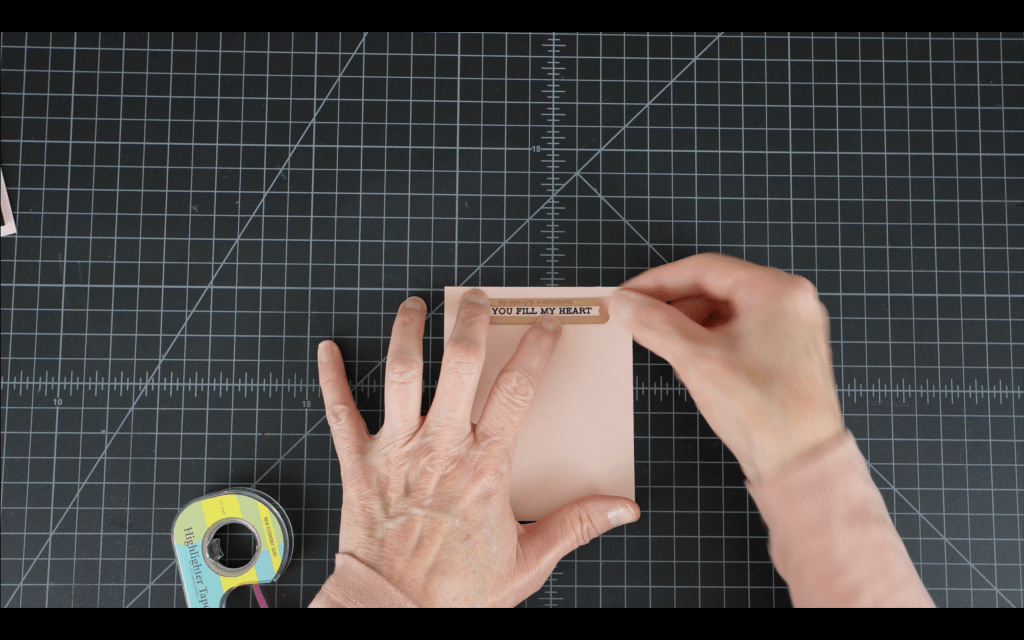
To complete the assembly of this card I adhered the sentiment strip to the shaker window with SKOR tape.
Quilted Love Card
This card was so simple and quick to make but was easily one of my favorites from the series. I started with an A2 white card base (I always use at least a 100# cardstock for my card bases.) I trimmed a Peony panel down to 4″ x 5 1/4″ and then ran the panel through my die cut machine with the quilted card front die. The sandwich I use for my Platinum 6 (yours will likely be different) is this stack, bottom to top: platform/die (cutting side up)/cardstock (front down)/flexible embossing mat/embossing plate.
Next I die cut the “LOVE” greeting three times from Pitch Black cardstock. I’ll stack and glue these die cuts for some dimension. I then cut a strip from black cardstock for my sentiment “You More.” The strip is approximately .5″ wide, just wide enough to stamp and emboss the sentiment. I stamped this in my Misti with VersaMark embossing ink, then applied white embossing powder. Here is the strip after heat setting the powder:

And that is it for elements for this card! On to assembly! I placed the sentiment strip just below the center of the card and glued the LOVE greeting just above the strip, with the bottom ascenders in the text just touching the strip.

I used my picker to pull out a few of the pink hearts from the confetti mix from the first card and glued a few of those to the front of the card. Card complete!
RED SERIES (you can find the video here)
XOXO Card
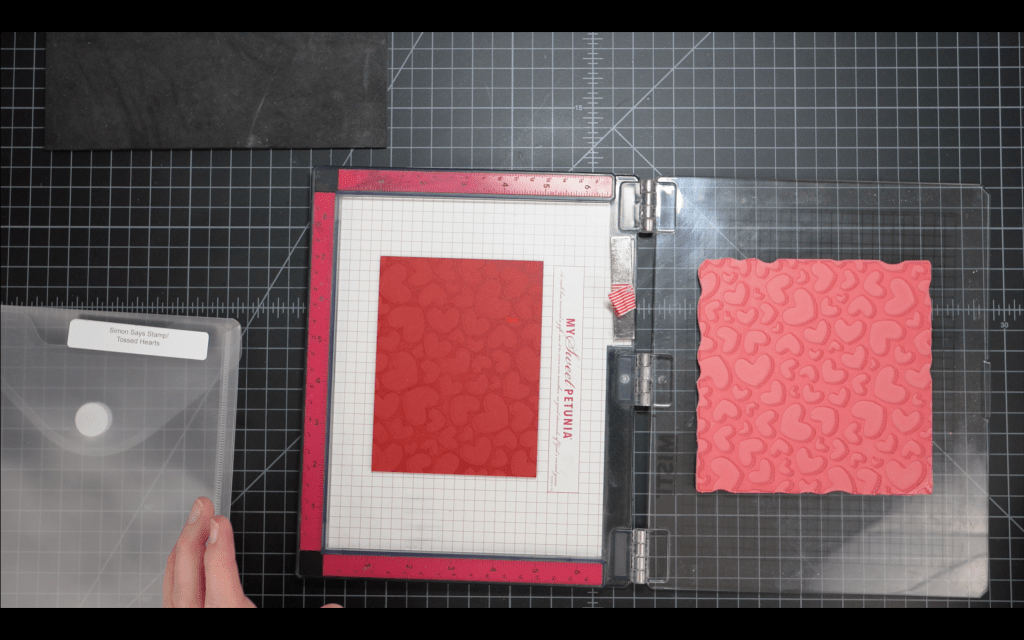
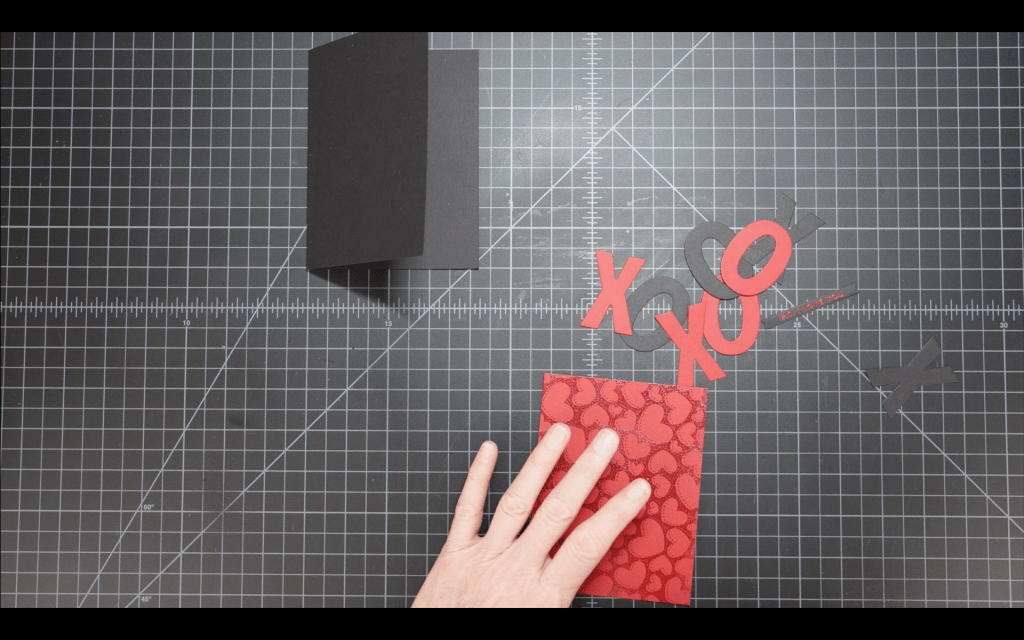
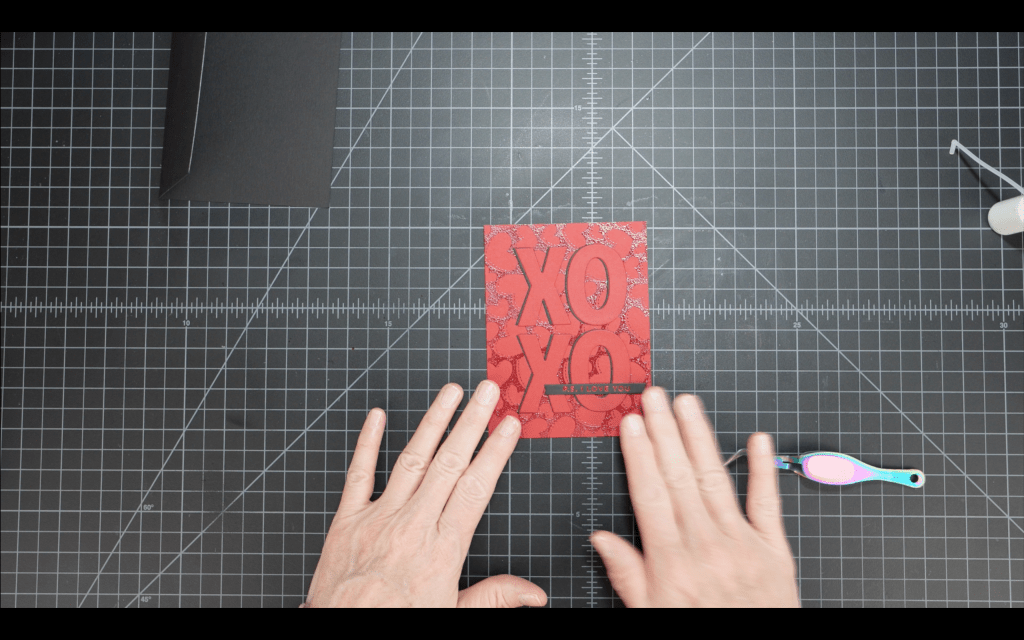
The XOXO card was my favorite of all the cards I designed for this project. I started by heat embossing the Tossed Hearts background stamp on a 4″ x 5 1/4″ cranberry panel with Versamark ink and clear embossing powder.
I set that panel aside to cool and moved on to die cutting. I used the XOXO die and both the Cranberry and Pitch Black cardstock to cut the image. I stacked the layers, red on black, to create a shadow layer. I used the Altenew hot foil sentiment plate “P.S. I LOVE YOU” to hot foil with red foil onto a small strip of Pitch Black cardstock. This set includes the sentiment strip die that is banner-cut on both ends. Beautiful, looks like an arrow!

I used my T-square ruler to line up all the die cut elements on the heat embossed front panel of my card. I applied the sentiment strip with a small strip of 1/8″ foam tape, for added stability and a little dimension.
The final step was to simply glue this panel onto the front of a Pitch Black A2 card base. I did not show this step in the video but a small red panel on the inside of the card would be great for adding a personal note.
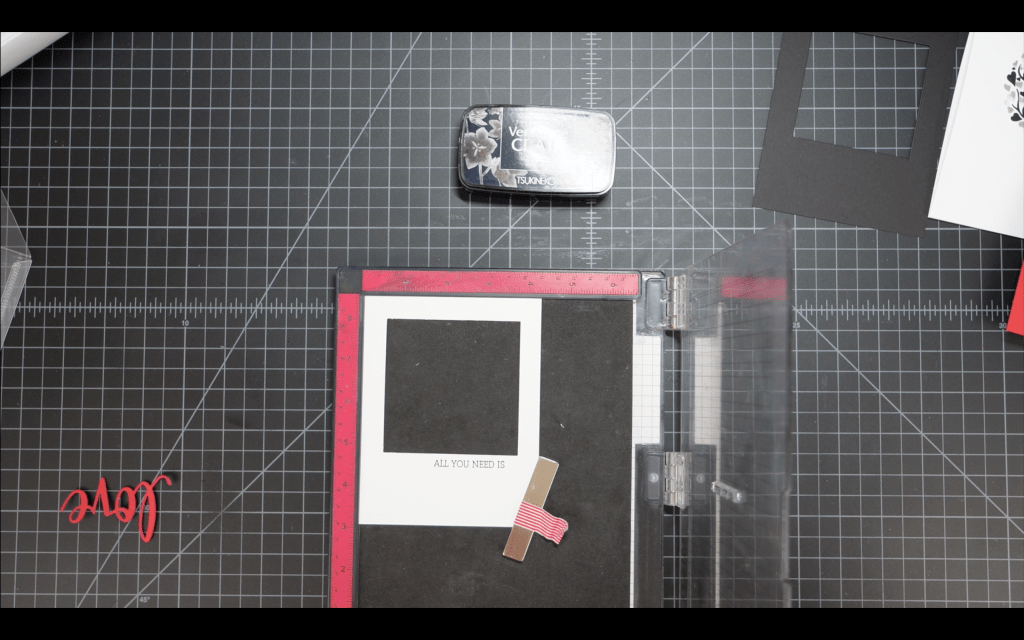
Heart Tree Card
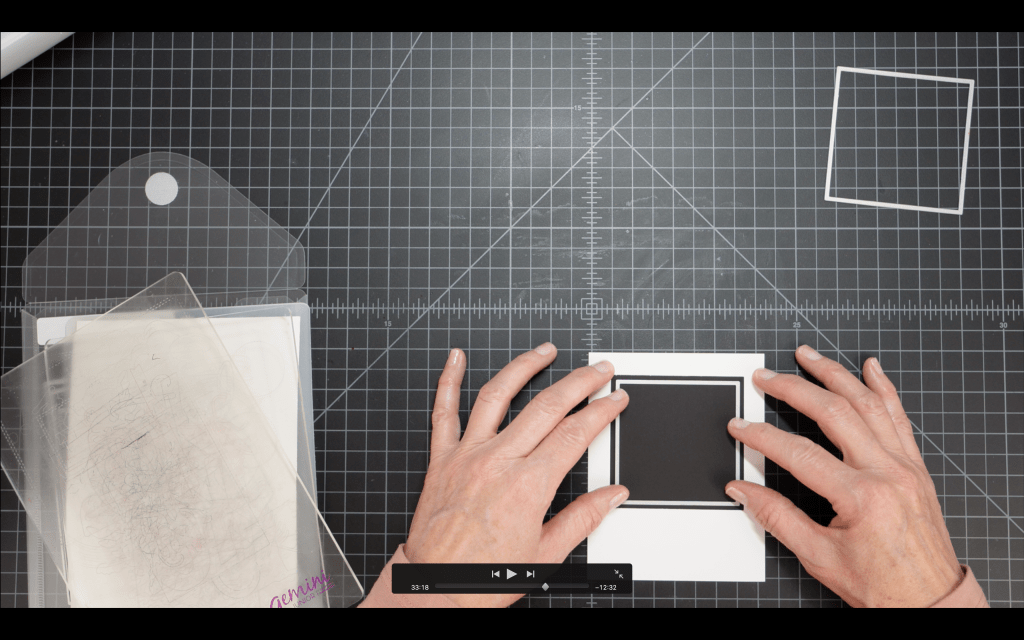
This card was really fun to create and I love how the red heart leaves pop! To create this card I started with a Pitch Black 4 1/4″ x 5 1/2″ panel and a white A2 top fold (portrait layout) card base. I cut a 3″ square from the top center of the card base, then placed my black panel inside the card and positioned the 2 7/8″ square die inside the frame I just cut, carefully centering the die inside the previous die cut.
Next I started working on the stamped and die cut tree image. I placed a 4 1/4″ x 5 1/2″ white panel in my Misti. This was layering weight cardstock. I placed my die cut black panel over this white panel and then I centered the Heart Tree stamp in the opening.

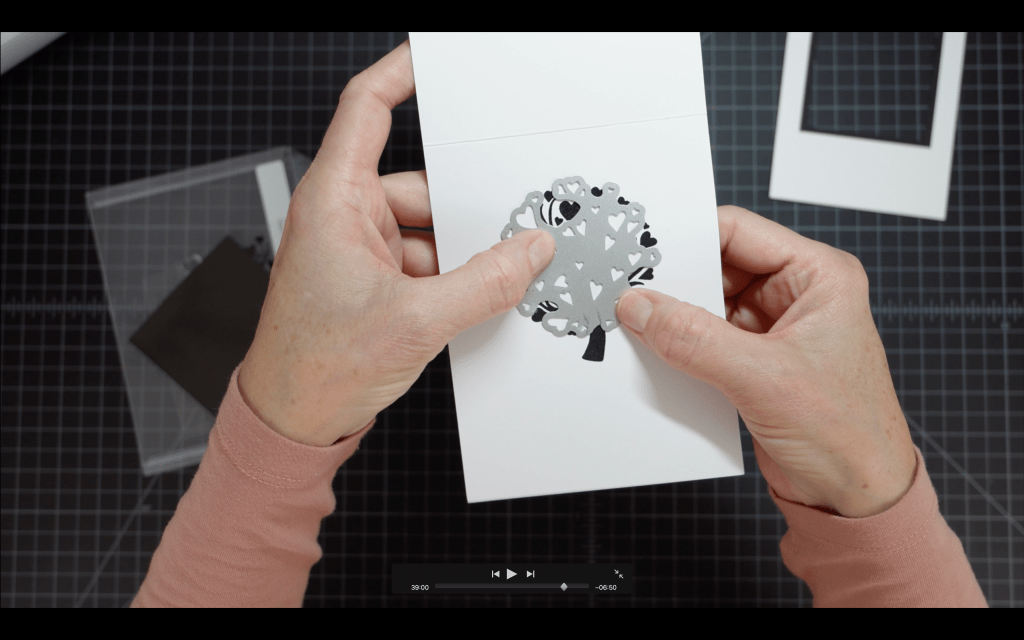
I stamped the image with VersaFine Clair ink (my favorite black!) and then cleaned my stamp while the ink was drying. Next I applied VersaMark embossing ink to the stamp and stamped the image again. I applied clear embossing powder then heated up the powder. Wow, the gorgeous black ink and the shine of the clear embossing powder! This image wowed me and it was only shiny black at this point.

Next I lined up the die from the set, matching the pencil marks I made on the die with the tree trunk in my stamped image. When done correctly you should not see ANY stamping inside the heart areas on the die.
After die cutting the hearts on the stamped image I moved on to the greeting die and sentiment strip. For this card I chose to use the large “Love” die from the Hero Arts Love Stamp and Cut set and the “All You Need Is” sentiment strip from the same set. I die cut LOVE three times from the Cranberry cardstock and stacked/glued the die cuts for dimension. I positioned the Love stacked die cuts on the front of the card temporarily while I placed the sentiment stamp. I stamped the “All You Need Is” sentiment on the front panel using VersaFine Clair ink.
The final step was to assemble all the elements of the card. I glued a Cranberry panel into the inside of the card after trimming a scant 1/16″ inch from the right and bottom sides of the card – just to ensure no red shows on the edges of my card base. I then placed my black frame panel over the card base, and finally glued the white frame panel to the front of the card. The last step was to adhere the “Love” greeting. I really love the beautiful simplicity of this card!
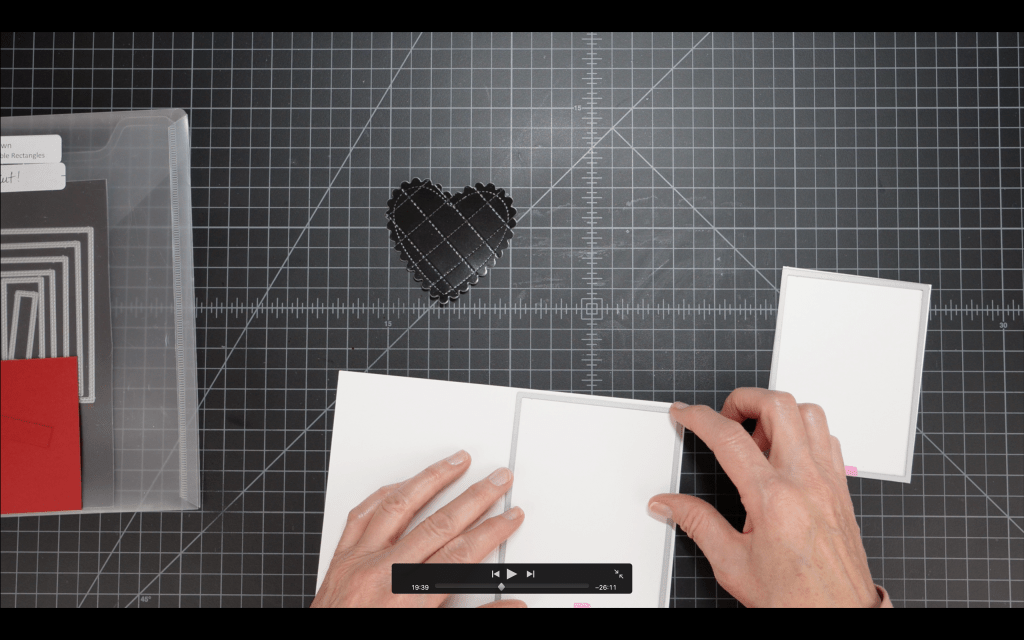
Quilted Heart Card
I used the recycled quilted black heart from the pink shaker card for this card. I started by using the Double Stitched Rectangles dies to create a stitched effect on the border of both a 3 3/4″ x 5″ white panel and also the front panel of an A2 card.
Next I created a sentiment for the card. I chose the “I Just Adore You” sentiment from the Altenew Sentiment Strips 2 stamp set and I heat embossed the sentiment on a small strip of Cranberry cardstock with shiny black embossing powder.
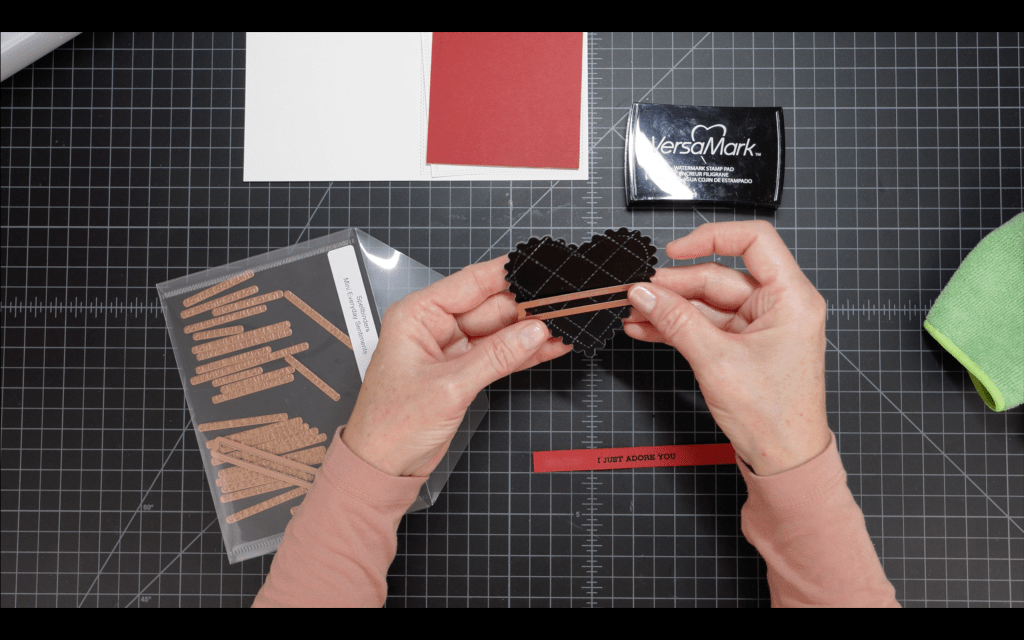
I then cut a 7″ length of black dotted ribbon and used SKOR tape to temporarily hold the ribbon to the back of the heart while I positioned the heart in the center of the ribbon and the center of the white panel. I folded the ends of the ribbon behind the panel and secured with more SKOR tape. Once the ribbon/heart was centered and secure I glued the sides of the heart to the panel.

The front panel assembly was quick at this point. I glued the heart panel to the red panel, being careful to keep the same margin on all sides (this was very small, 1/16″ on all sides.) I then centered and glued this panel onto the card base, again keeping the same 1/16″ margin on all sides. Finally I used a small piece of 1/8″ foam tape to adhere the sentiment to the heart die cut.
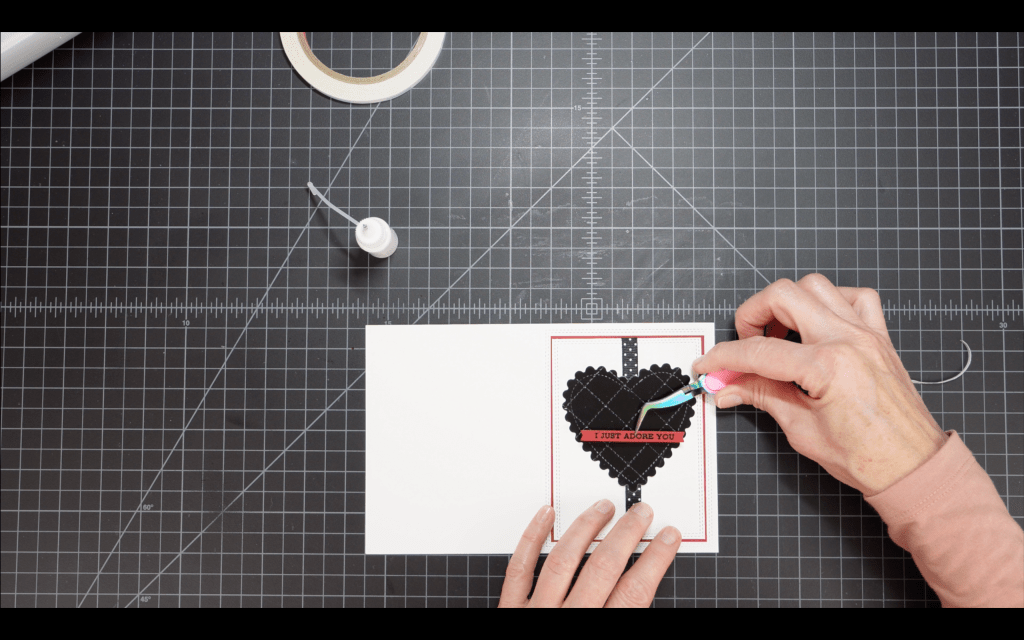
The quilting against the shiny black cardstock is really beautiful!
I am still working on Valentine’s Day cards that I’d love to share. Stay tuned!
Cheers!
Cynthia
