Materials List:
- Honey Bee Stamps Scandinavian Christmas Stamp and Die Set
- Hero Arts Hero Hues 111# Card Stock – Pitch Black
- Ranger Perfect Pearls: Confetti White, Sunflower Sparkle, Mint
- Ranger Perfect Medium
- Versamark Embossing Ink
- Ranger Detail Silver Embossing Powder
- Pops of Color – Satin Pearl
- Wow! Embossing Powder – Metallic Copper
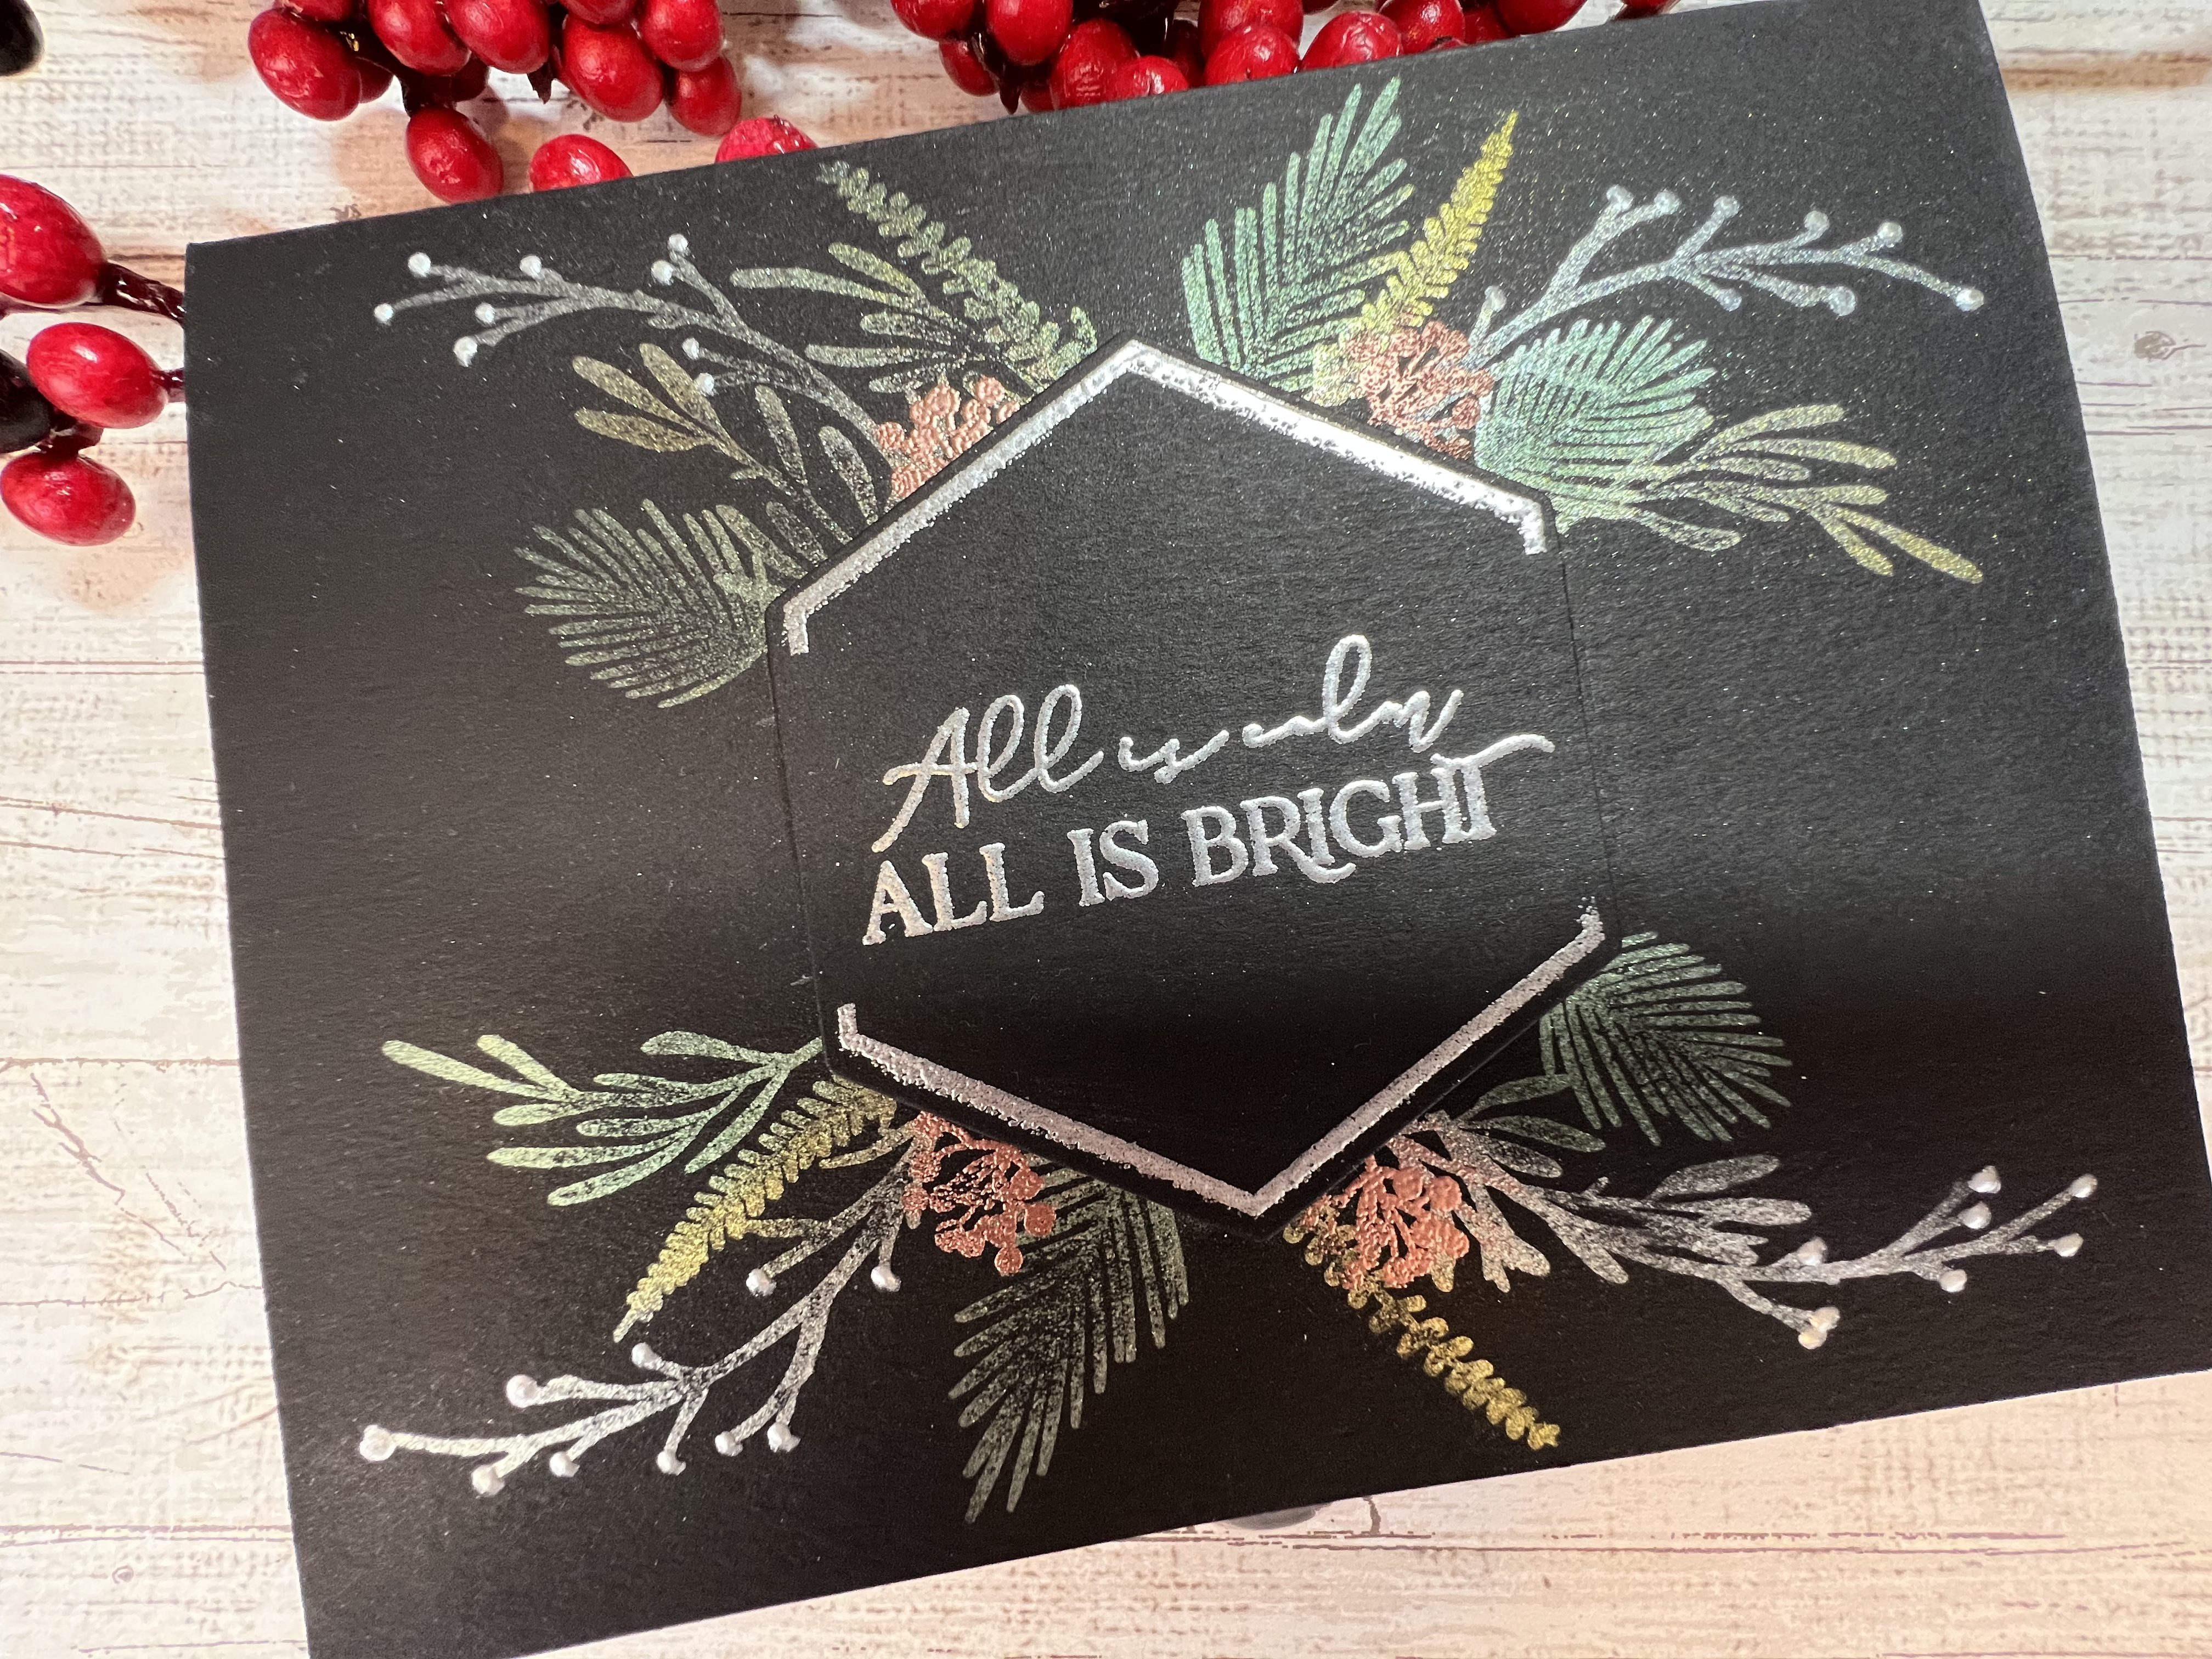
I’ve pulled out the Perfect Pearls several times in the last few months and worked on some background pieces for cards that were ultimately placed in the “drawer of unused card parts.” I love the look of Perfect Pearls but couldn’t come up with a design for an entire project. Sometimes just playing around with crafting supplies helps to put pieces of the project into place…just not in the right order! As I was browsing Pinterest a few days ago I saw a tag idea using a split wreath with the “from” message in the center. And bam, it hit me that this was the layout I wanted for the Scandinavian Christmas project, but using Perfect Pearls and the hexagon element from the set. I love that little spark of excitement when I finally put all the pieces together in my head and I can start actually working on the card physically. Check out the YouTube video for this card here.
I started with a piece of 4″ x 5″ black card stock. I placed a piece of tape horizontally across the center of the card stock as a mask and stamped the hexagon shape onto the paper over the tape using Versamark embossing ink and my Misti. I then applied silver embossing powder and heat set. I pulled off the tape and then placed the piece back into my Misti to stamp the sentiment in the center of the hexagon. Again I applied silver embossing powder and heat set. After the piece was cool I die cut the hexagon shape using the included die. Sentiment piece complete.
I decided to apply the Perfect Pearls directly to the front of the card base instead of using a separate front panel piece. I started by marking the center of the front panel and then lined up the die cut sentiment over this mark. I used a pencil to trace around the top and bottom of the hexagon to give myself a reference point for my stamping.
I placed the card base in my Misti, then I arranged the foliage stamps along the top of the traced hexagon shape, then picked up the stamps with the Misti door. I applied Perfect Medium to the stamps and stamped the images. I needed to use a few of the stamps again so I cleaned the stamps, removed all the stamps from the Misti and repositioned the ones I wanted to reuse as well as placing any additional foliage stamps. Thankfully this set has a lot of foliage stamps to choose from, including both left and right oriented stamps. When I was satisfied with the stamping I took the paper out of the Misti and placed it on a paper towel. This helps to keep the work surface clean while applying the Perfect Pearls powder. I applied the various colors of powder to my stamped images, varying the colors and keeping in mind that I wanted to use some pearl Pops of Color to represent berries on some of the stems. I applied the powder with the smaller brush that is included in the set, and then used the larger fluffy brush to brush off the excess powder. Perfect Pearls does have a sticky element in the powder that helps it to cling to the paper but you must use Perfect Medium to adhere the dry powder. ***See my additional thoughts below on Perfect Pearls***
I repeated these same steps for the bottom of the wreath. I flipped my card stock around 90 degrees in the Misti before stamping the bottom images. See the photo for reference. After removing all the excess powder I ran the card stock through two light mistings of water to fully set the powder. I then used a microfiber cloth to remove any lingering powder on the front panel AWAY from the stamping. I’ve still not had great success with rubbing directly over the powdered images with a cloth. I continue to use the clean fluffy brush to remove powder on the images.
Next I stamped the small berry image several times on both the stop and bottom of the wreath, filling in any open gaps in the foliage. I applied copper embossing powder and heat set. NOTE! The berry stamp will look like a small clump of rocks if you over-ink or press too hard when stamping. I found that a light press is all that is required.
Next I applied Pops of Color to the tips of the white branches. The last step was to pop up the sentiment with foam squares in the center of the card and the card was complete. Honestly the most difficult and time consuming part of the entire card is arranging the foliage stamps in a pattern that looks full and symmetrical.
It has occurred to me that I’d like to post step-by-step photos on my blog posts so I will start doing that with the next card. Of course you can always check for the YouTube video link near the top of each blog post if you’d rather follow along on a video.
I might create one additional Christmas card video/card in the next few days – I have an idea that can’t wait until 2023, so stay tuned!
Cheers!
