

Materials List:
- Hero Arts Make Yourself at Home November 2022 Card Kit
- Copic Markers: R59, R37, R21, G28, G24, YR14, E99
- Picket Fence Studios Paper Glaze – Winter Snowfall
- Simon Says Stamp! Acetate Sheet
- Detail White Embossing Powder
- Tim Holtz-Ranger Distress Mica Stain – Tart Cranberry & Brushed Pewter
- Tim Holtz-Ranger Distress Oxide Ink – Rustic Wilderness
- Scrapbook.com Pops of Color – White Satin
- Lawn Fawn Stencil Paste – Gold
- Vellum
- Sizzix 3D Sweater Embossing Folder
- Momenta Ornate Stacked Frames Dies
- Lawn Fawn Circle Stitched Tags
- Gina K Holiday Tapestry Stamp Set
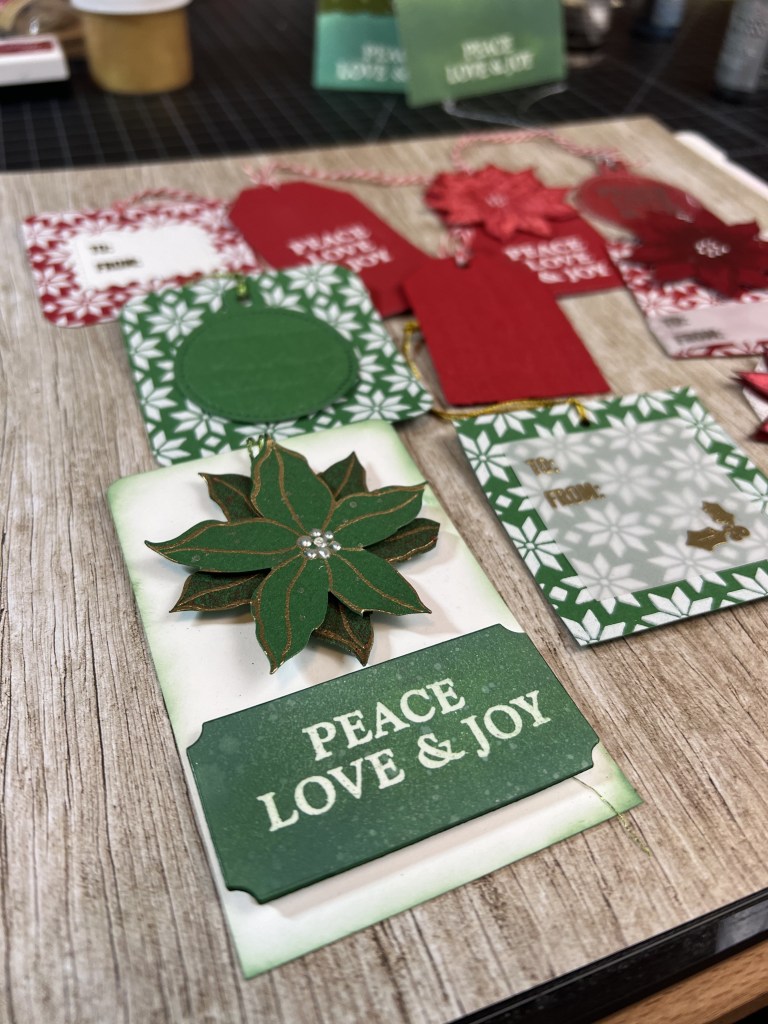
After making lots of cards with the Hero Arts/Joann Make Yourself at Home November 2022 card kit I decided to stretch the supplies even further and create some coordinating gift tags. This kit delivers on possibilities! I was able to create several tags using just the elements in the kit and it was fun to go through my stash to find tag dies to die cut everything to size.
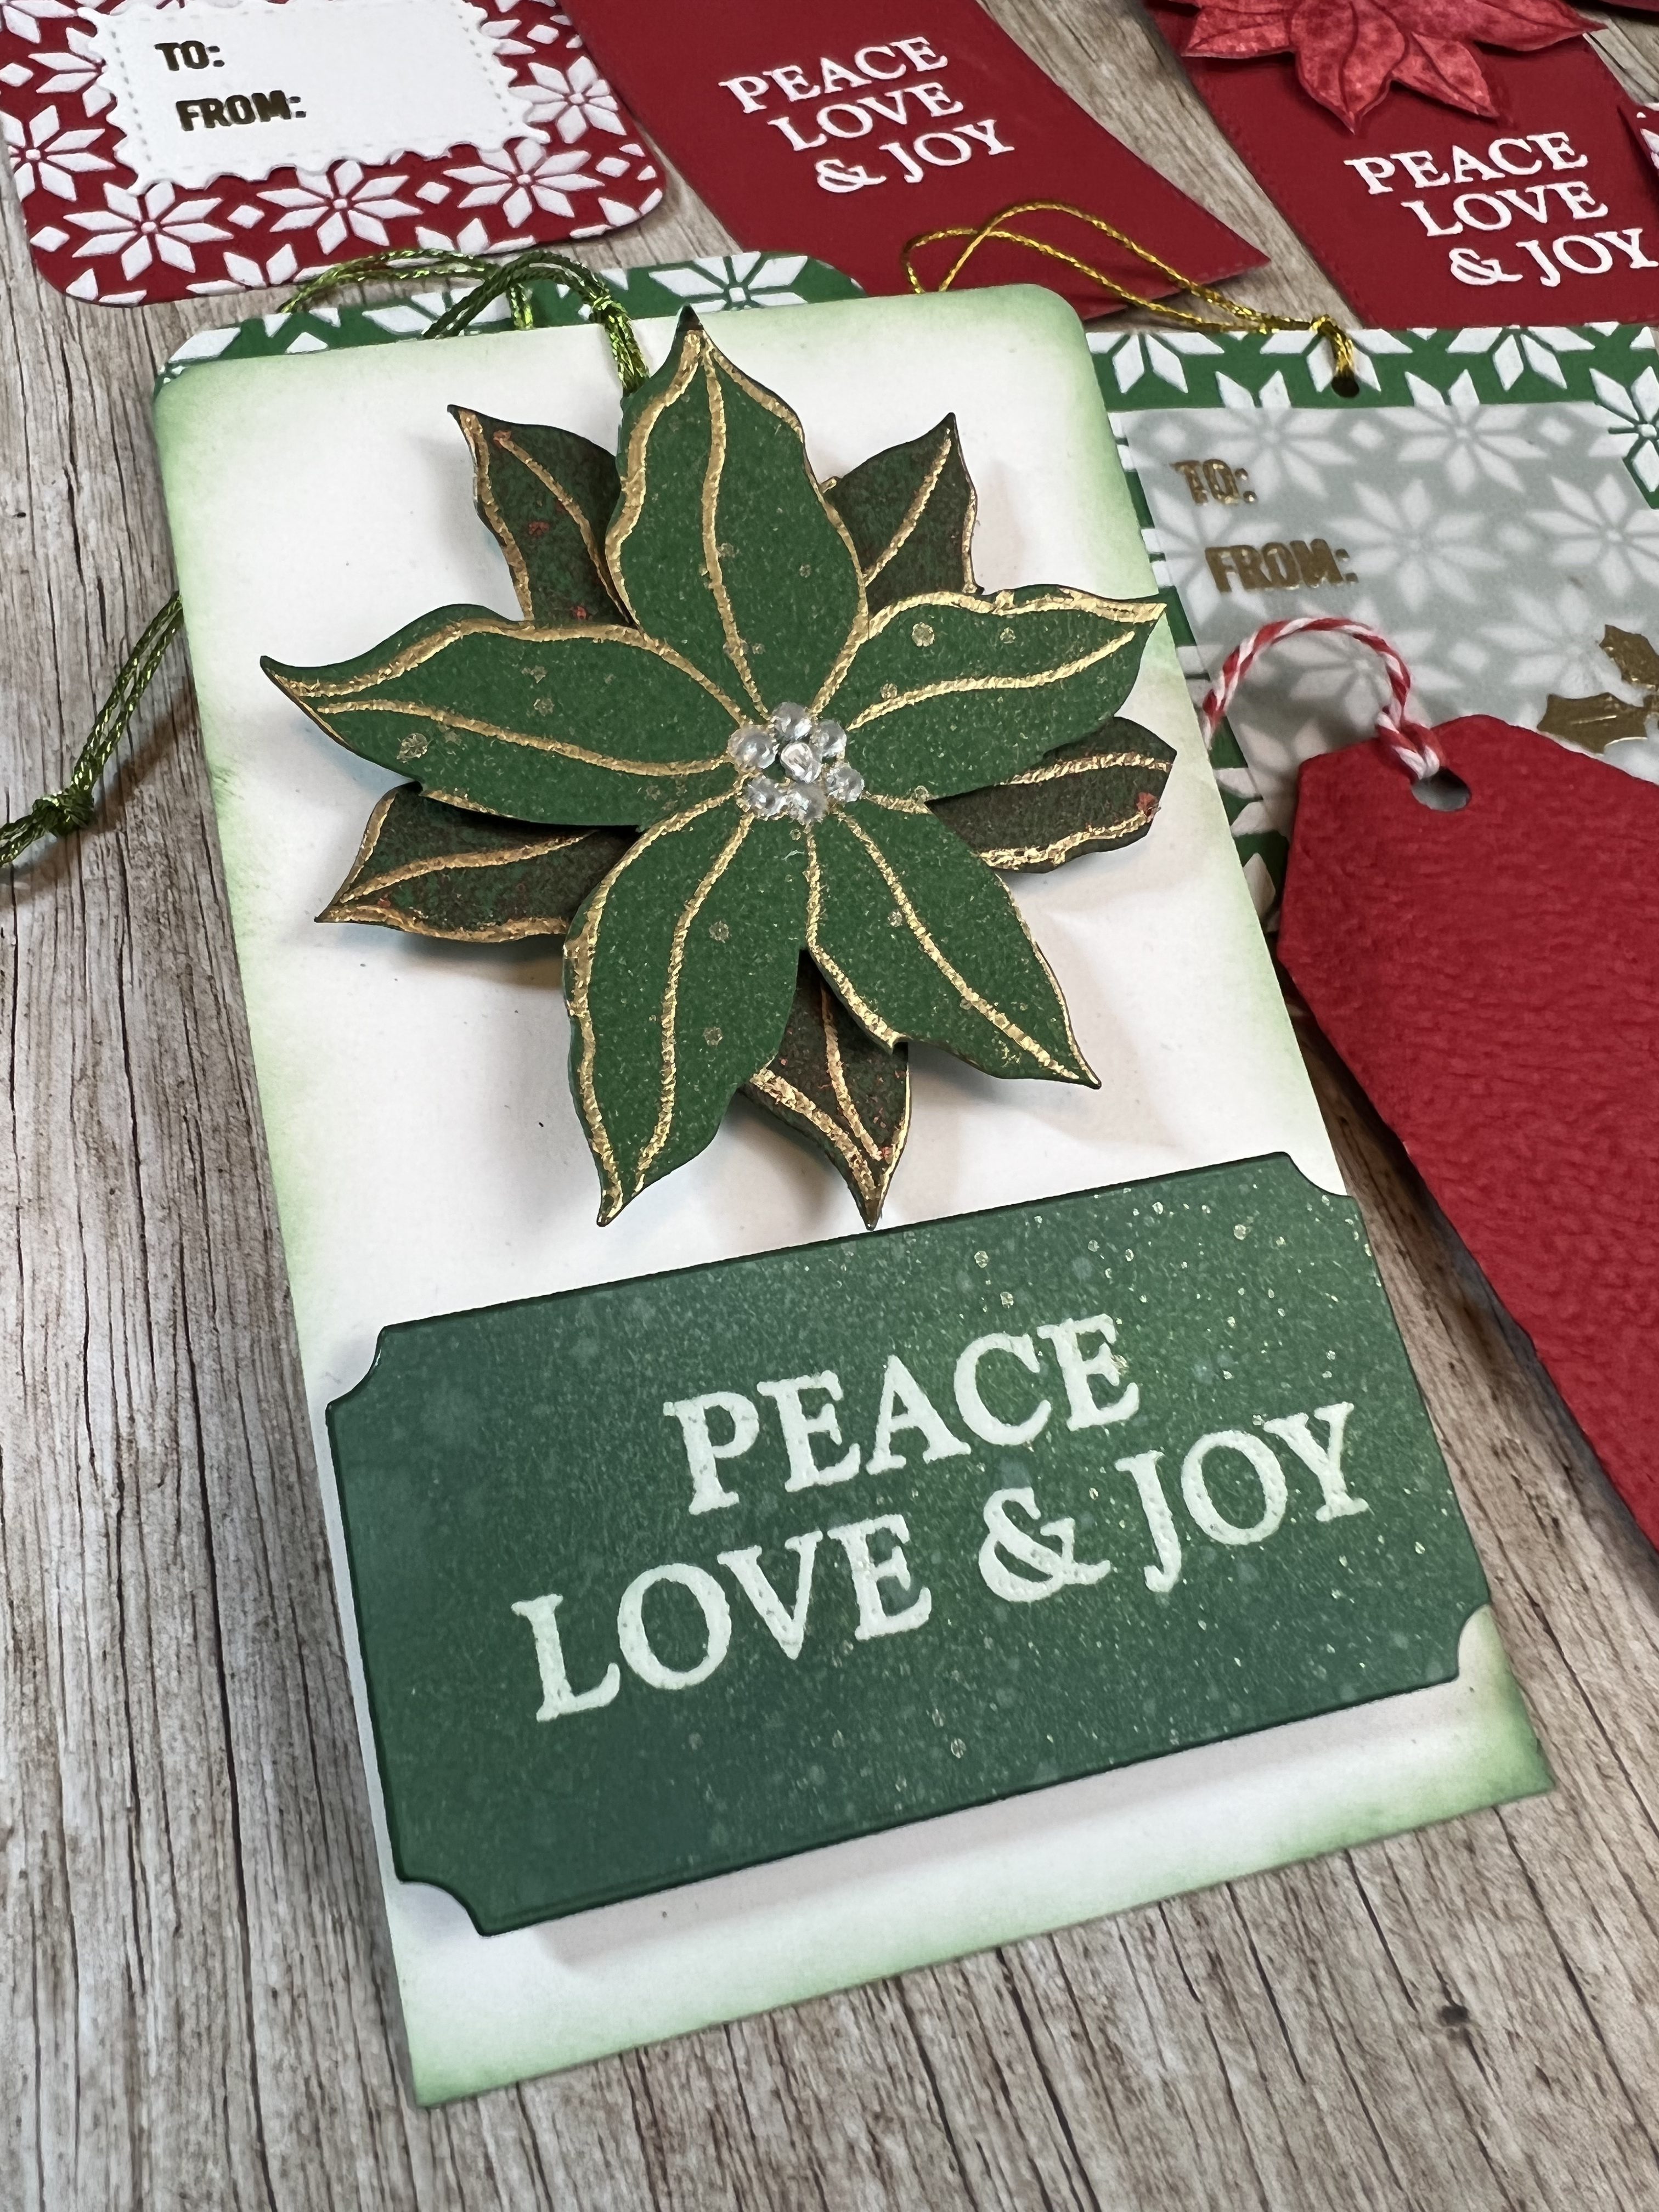
My favorite tag is the green 3-D poinsettia that pops off the tag with gold embossing, a spray of brushed pewter mica spray and some Pops of Color dots. I heat embossed the sentiment with white detail embossing powder and inked the edges of the tag with Distress Oxide ink in Rustic Wilderness. I used foam squares to pop up the top layer of the poinsettia and curled the edges of the leaves just a bit. The colors in this tag feel so holiday-ish and I really love it.
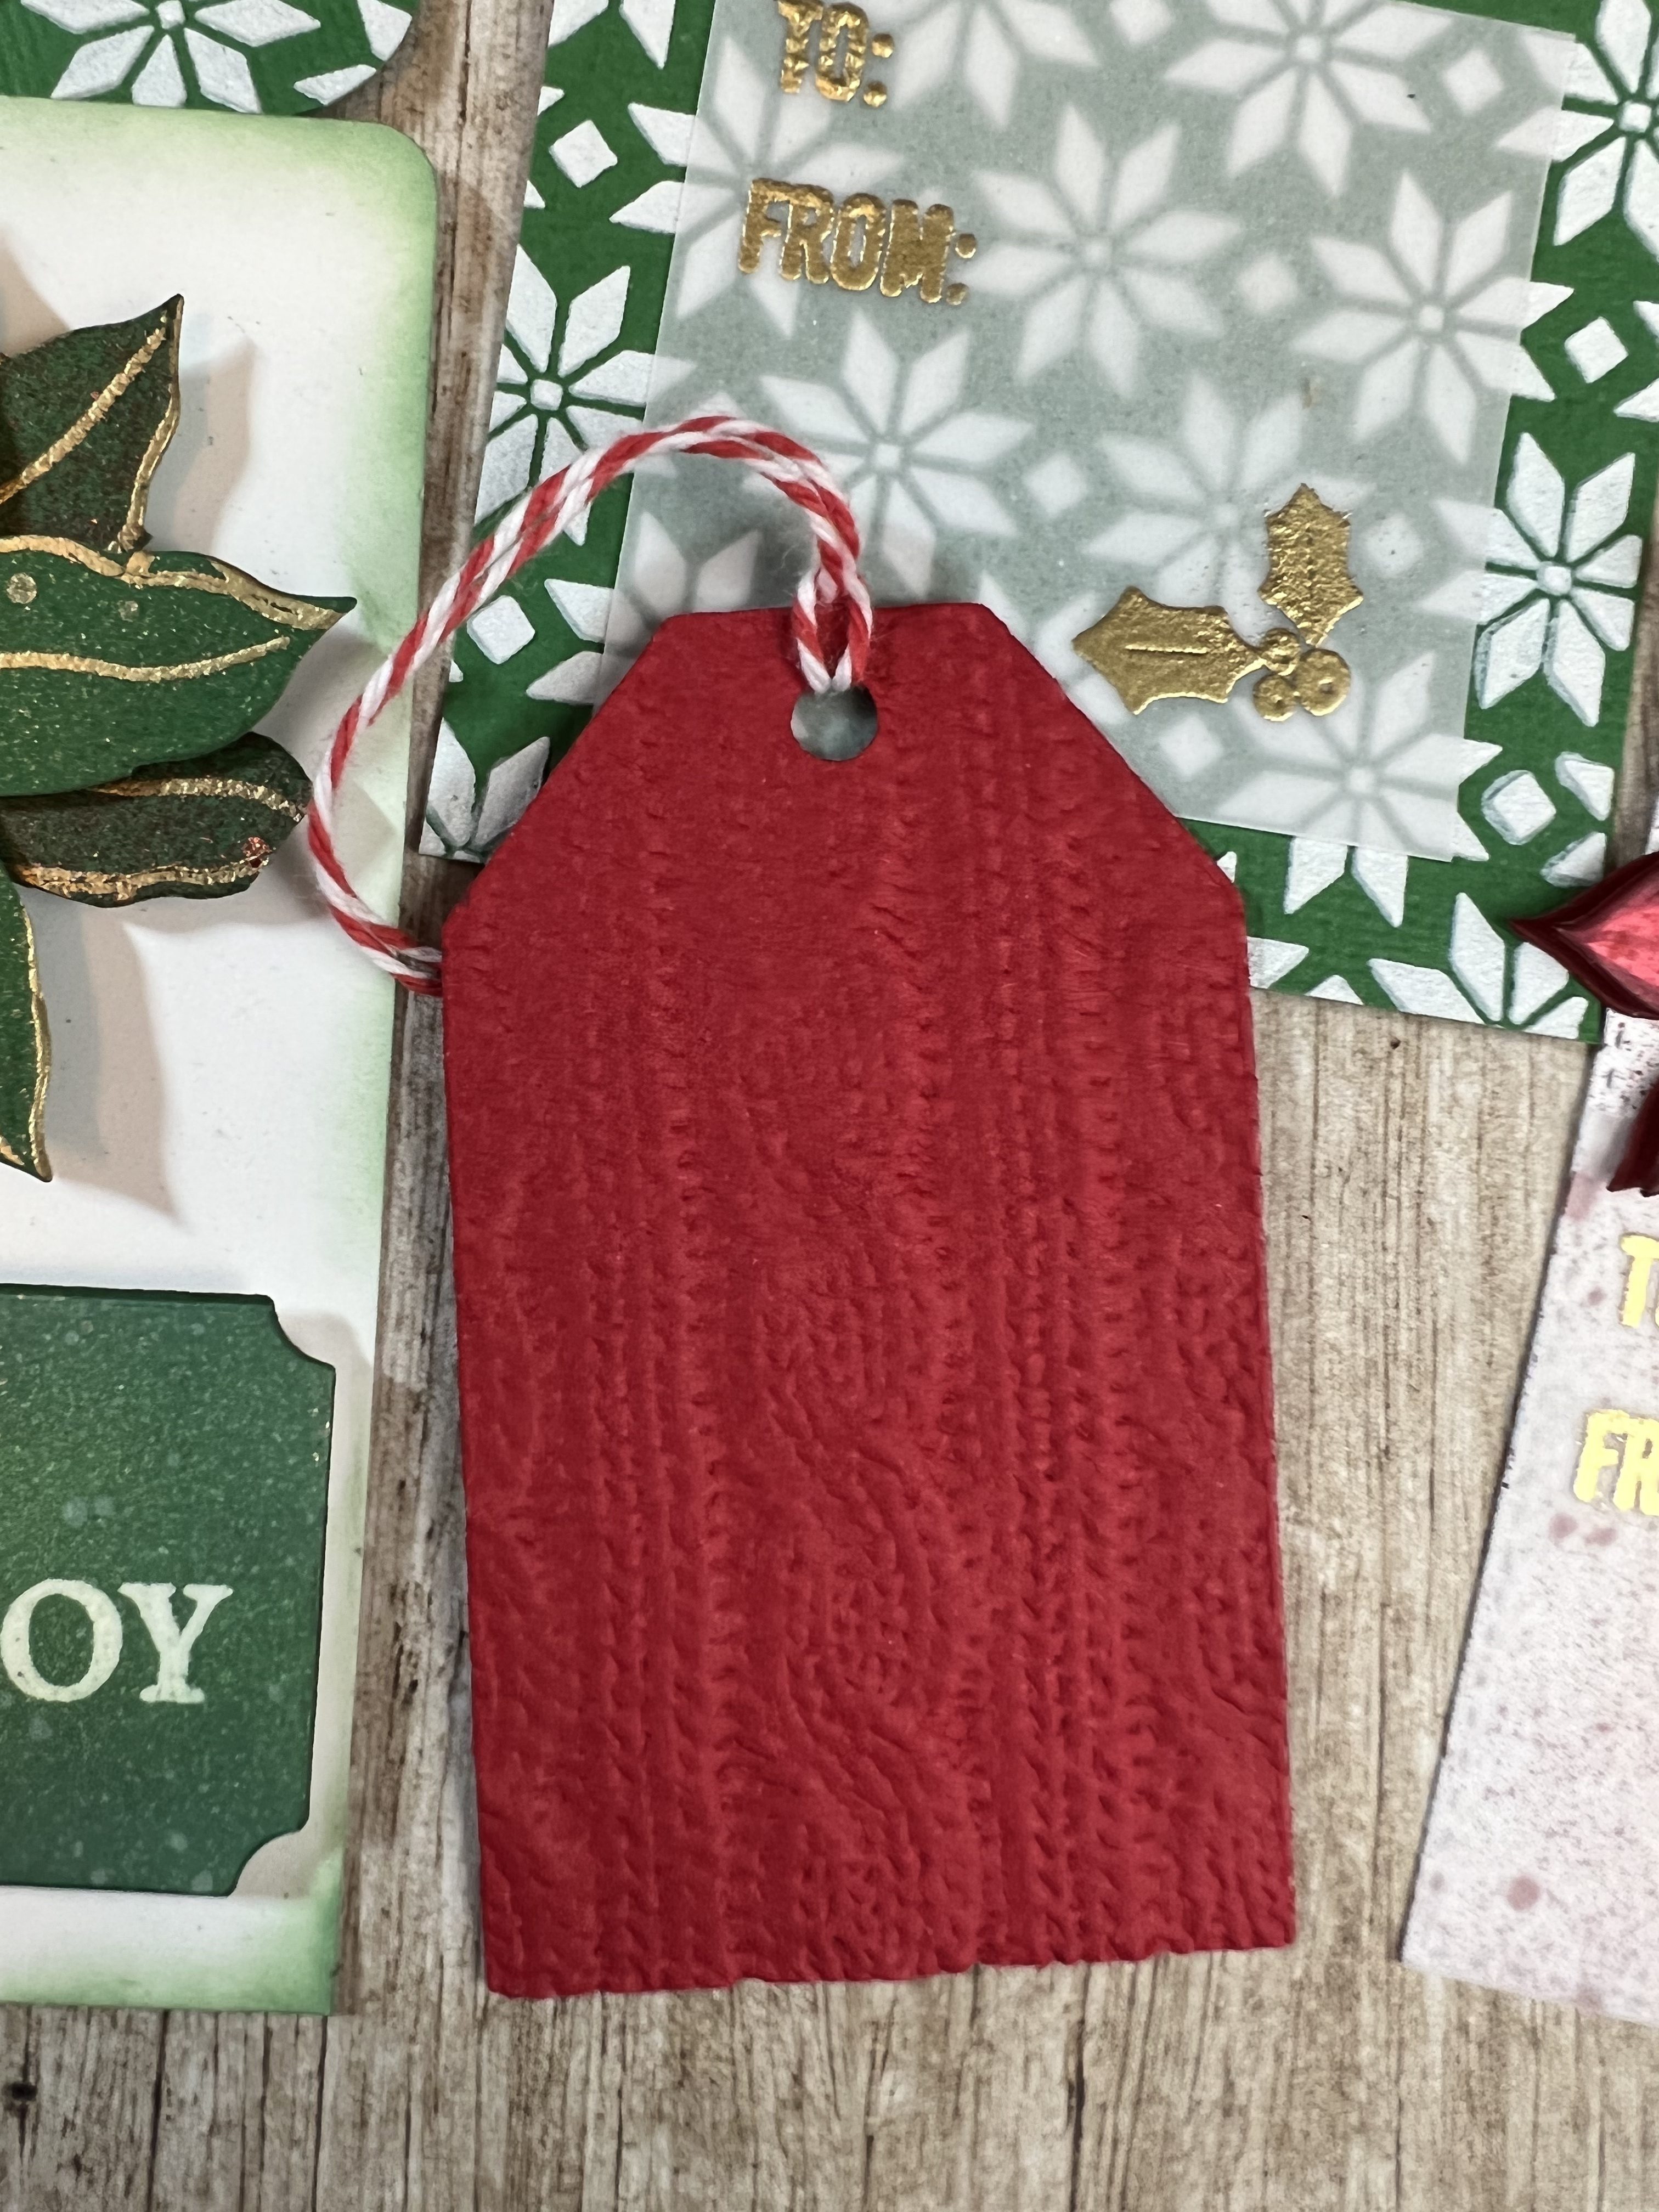
The simplest tag (by far) was the sweater texture tag. I cut two tags to size with a tag die, misted one lightly with water, placed it in a 3D sweater texture embossing folder and then ran it through my die cut machine. I stamped “To:” and “From:” on the second tag and glued the second tag on the back of the embossed tag. This is one that can be mass produced very quickly in various colors and it is super cute.
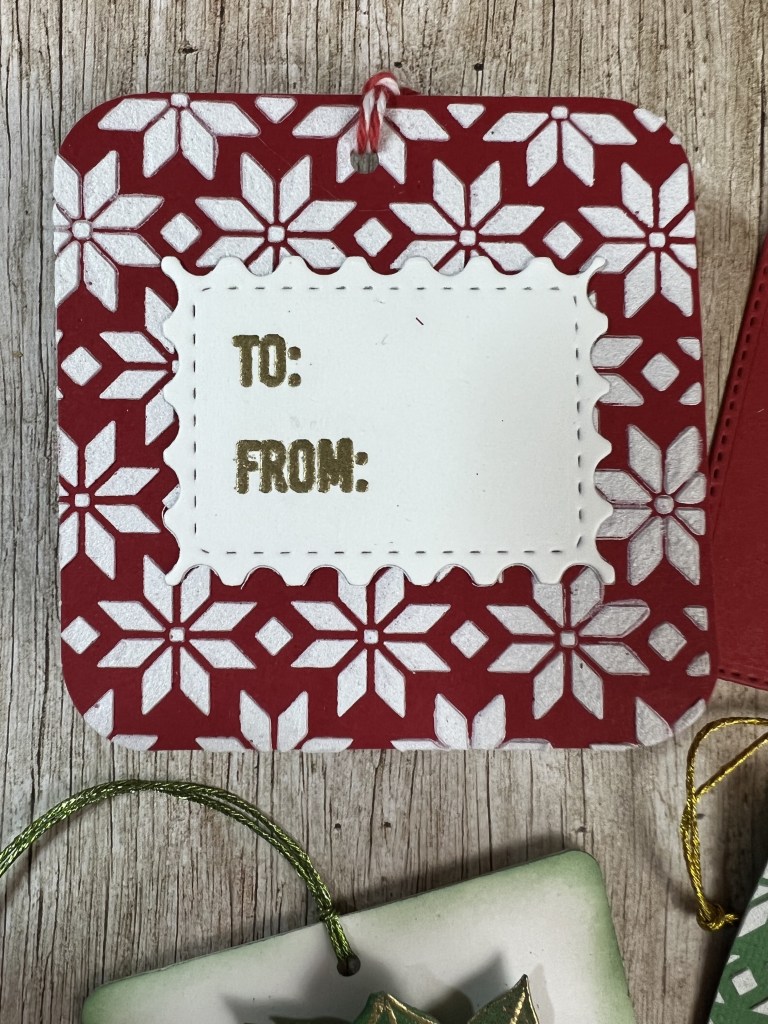
And of course I had to use the poinsettia stencil again. I loved this textured background in the original series of cards and I knew I wanted to use it again on the tags. I stenciled both the cranberry and pine cardstock with the stencil and paper glaze, cut the tags to size with a tag die and then created various overlay layers with vellum or white cardstock for the “To:” and “From:” stamps. I had so many ideas for this background…Have you ever had so many ideas that you just know you can’t possibly remember all of them? Yes, that happened.
The acetate overlay is also very simple but feels so Christmas-y. I used an anti-static powder tool on both sides of the acetate die cut, then inked with embossing ink and applied detail silver embossing powder. This is heat-resistant acetate from Simon Says Stamp! but make sure your heat tool is primed (turn on for about 20 seconds before you start to heat emboss) for quick results with absolutely no warping!
There are other tags in the photos above that I haven’t detailed so drop me a line if you’d like more information. I hope you are able to use this info to stretch your supplies a little bit further and also create some fun and useful gift tags in the process. My next project is a gift box and gift card holder using patterned paper from your stash. Stay tuned!
Cheers!
Cynthia
